

Raised beds can be used for veggetables or flowers and can be planted using the square foot method. The square foot method of gardening is ideal for smaller spaces. Constructing a square foot garden bed is very easy. Since we just installed new beds, I thought I would share how I make my beds.
In the true fashion of square foot gardening, beds are constucted 4' x 4' but you can make them any length you want just don't go beyond 4' wide. That will give you 2' comfortable reach from both sides and the ends if you make your beds longer than 4'. The reason for this is you need to be able to reach all around the bed without walking on it. Do not use pressure treated lumber! I prefer 2" x 8" or 2" x 10" untreated spruce lumber but you could use cement blocks if you know you won't be moving the bed. While no bottom cover is necessary you can use garden cloth if you want. I don't use any bottom cover. The beds are set on the grass then filled. You can make your beds deeper than eight or ten inches as well. If you have mobility issues a 36" high raised bed will make it easier to garden. The bed is constructed in the same manner but with a bottom then raised on four posts to the desired height.
Beds should be layed out in such a design to allow a 3' pathway especially if you use a garden cart or wheelbarrow. You can go narrower but 3' makes the pathways wheelchair accessible. Choose your pathway material wisely based on durability, accessibility and ease of revamping. All have pros and cons. I prefer gravel but you can use other material for the pathways. I
My beds are constructed using a simple butt joint with no reinforcement. Three long galvanized nails at each joint does the trick. When I first constructed the larger beds I thought reinforcement would be needed but after almost 4 years they still look good. The spuce weathers nicely to grey that just seems to mellow the garden. You can add reinforcement at the joints if you want. This can either be 2" x 2" or L-brackets. My beds are not anchored to the ground either because at some point I may want to change my garden layout. While that is highly unlikely I don't see the need to anchor them into the ground.
Soil is the next concern and may need to be adjusted based on your zone or the plants you are growing. Adjust as necessary based on your climate and the plants you are growing. I started out using 1/3 compost, 1/3 peat moss and 1/3 top soil. I've since modified the original beds with soil ammendments such as manure, vermiculite and leaves. I recommend using an organic fertilizer after the first year simply because like containers nutrients leach out of the beds.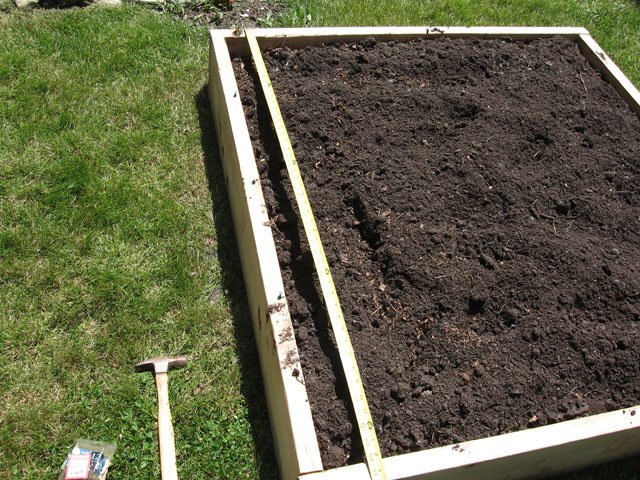 Bed constructed and filled
The actual contruction was simple so I've started the pictures at where the bed has been filled and was ready for the grid system. The grid is important as that is what forms the basis of the square foot gardening method.  Measuring Up
Once the bed is filled it is time to measure up the bed. Use a tape measure and run from end to end. Mark each side at 1' intervals around the perimeter of the bed. I now skip the step of marking and use push pins as I go. 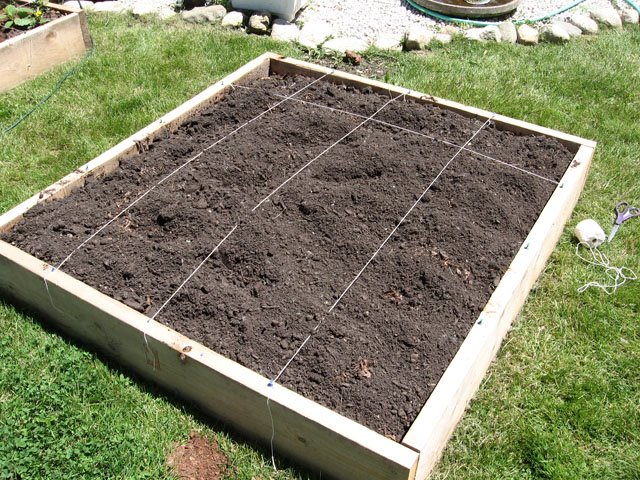 Cotton Yarn
By far the most convenient, cheap way to secure the grid is push pins especially if you use cotton yarn as I do. The cotton yarn is biodegradable and birds will collect any left-overs for building their nests so it is a win-win situation. The push pins can be left in place to re-use the following growing season. However, you can construct your grid using left-over window blind slats and just nail them where needed for a more permanent grid. When constructing your grid consider that it should be removable for ease of turning the soil or adding ammendments in the spring. Bed Ready to Plant
Once the grid is completed the bed is now ready to plant. There are some rules regarding the density. For example in 9 beans can be planted in one square. Density charts are available online. I use companion planting and observe those rules as well. Generally what goes together grows together. There is an earlier post on companion planting if you need to find out more.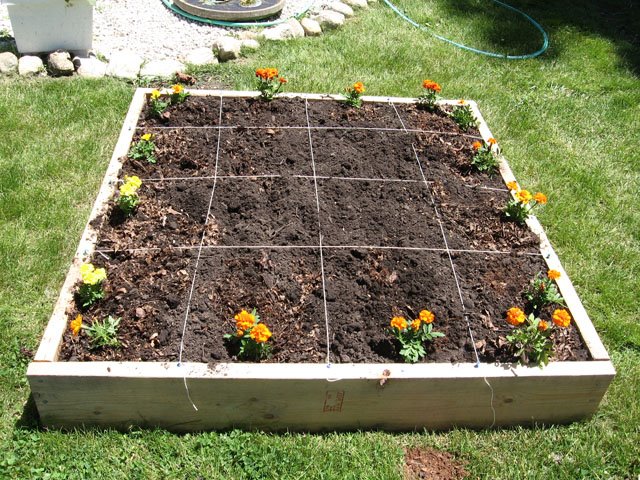 Marigold Border
This bed is the last of three new vegetable beds so is destined to be an overflow bed for this year. Raised beds often need a year to become well established or at least that has been my experience. I don't expect the same results from new beds as the older beds. Once the raspberries are finished fruiting they will be moved to this bed so it will become a small raspberry patch. It will still be planted with companion plants to raspberries using the square foot method.
Well that is about it on construcing a square foot garden bed other than at some point depending on what you are growing you may need plant support. You can use trellises or even homemade designs. My beans are supported by a hockey goal post design using cotton yarn for them to climb on. Be creative!
Happy Gardening
Garden Gnome


0 comments:
Post a Comment
Thanks so much for commenting. Your message will appear once approved.